Ash handled Lauri Leuku blade.
My trusty old Leuku gave me the extra reach needed to cut this cluster of Oyster mushrooms from the trunk of a tall Beech tree. As a ‘jack of all trades’ the Leuku is very hard to beat.
Ash handled Lauri Leuku blade.
My trusty old Leuku gave me the extra reach needed to cut this cluster of Oyster mushrooms from the trunk of a tall Beech tree. As a ‘jack of all trades’ the Leuku is very hard to beat.

Beech bowl with Walnuts.
This was the first bowl I made around eight years ago with windfall Beech from Ashdown Forest. It is still my favourite vessel for soups and stews and always takes me back to the memory of carving it by the camp fire among great friends.
Ideal for stirring that cake mix…?

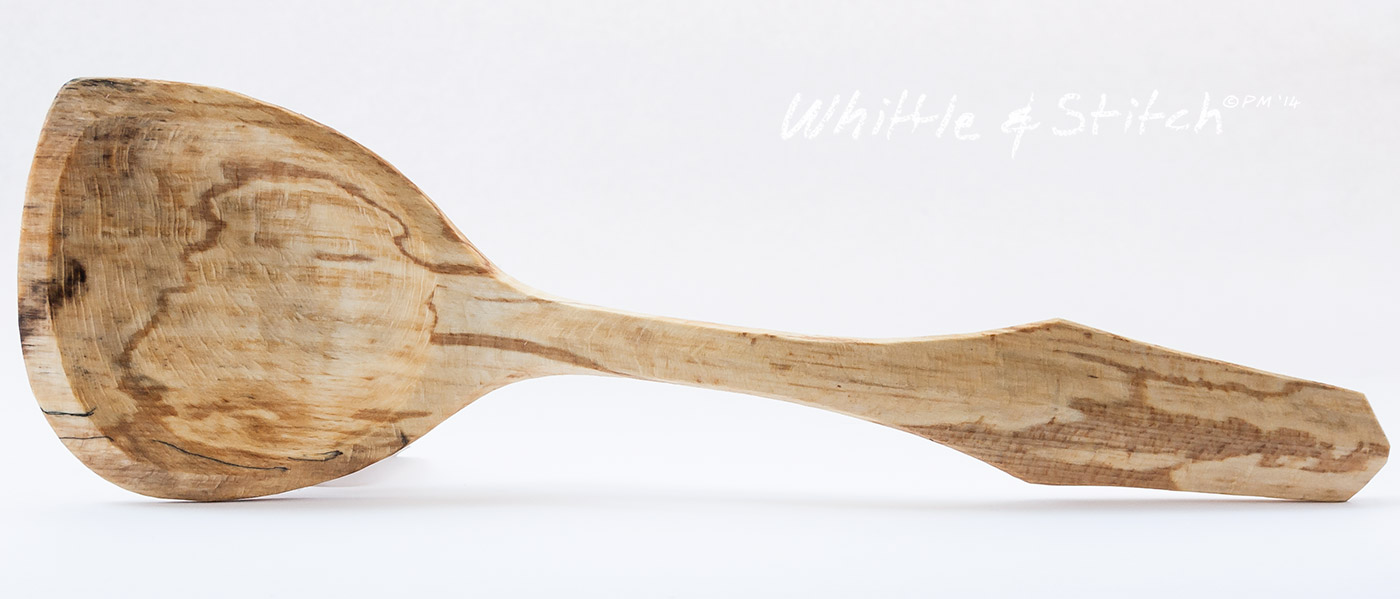
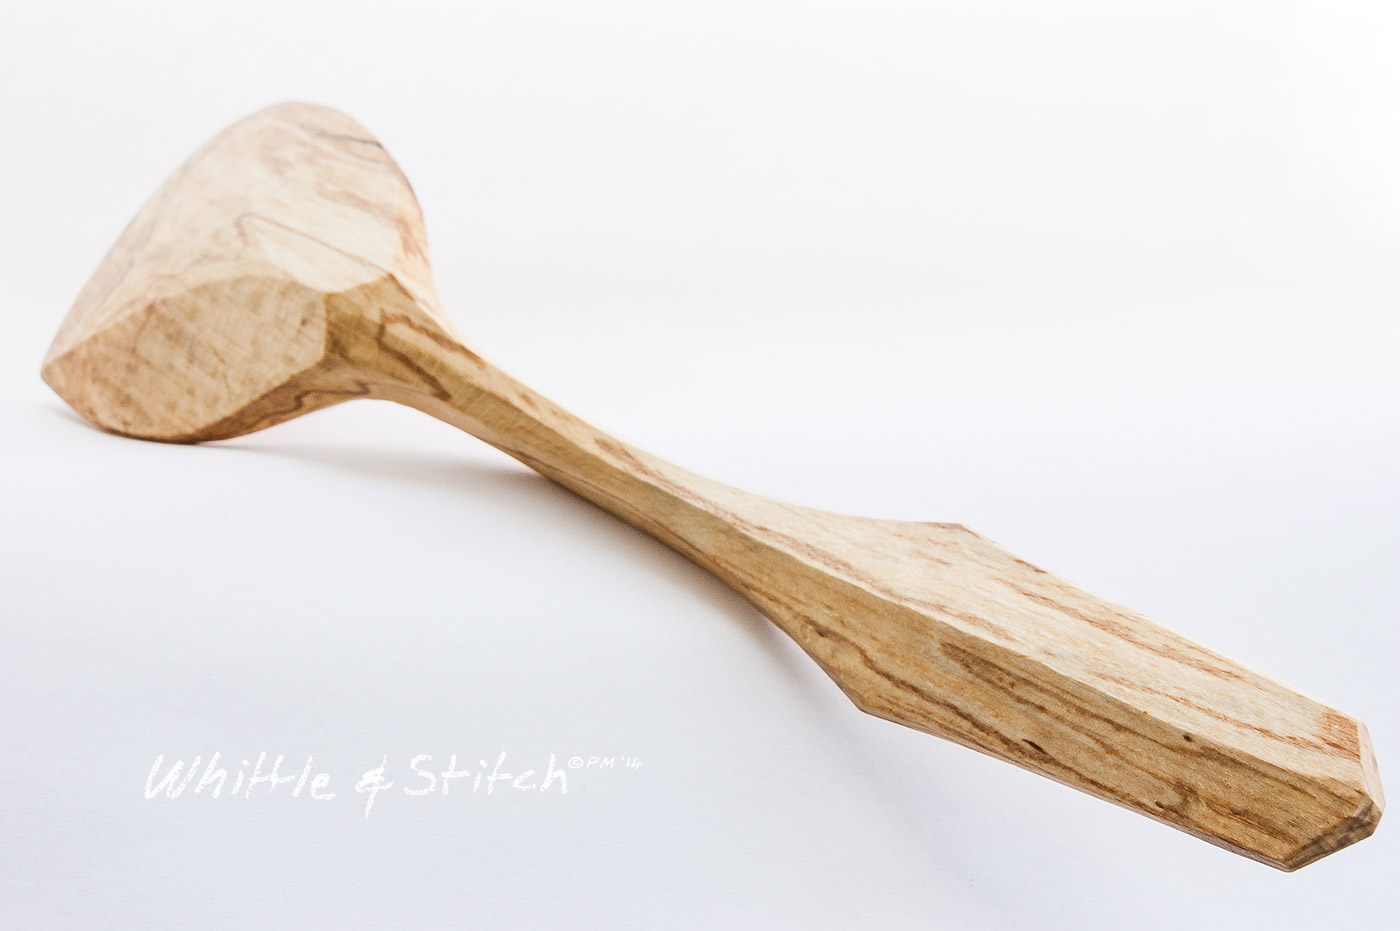
More Spalted Beech for stirring, mixing and spreading.
All the best.
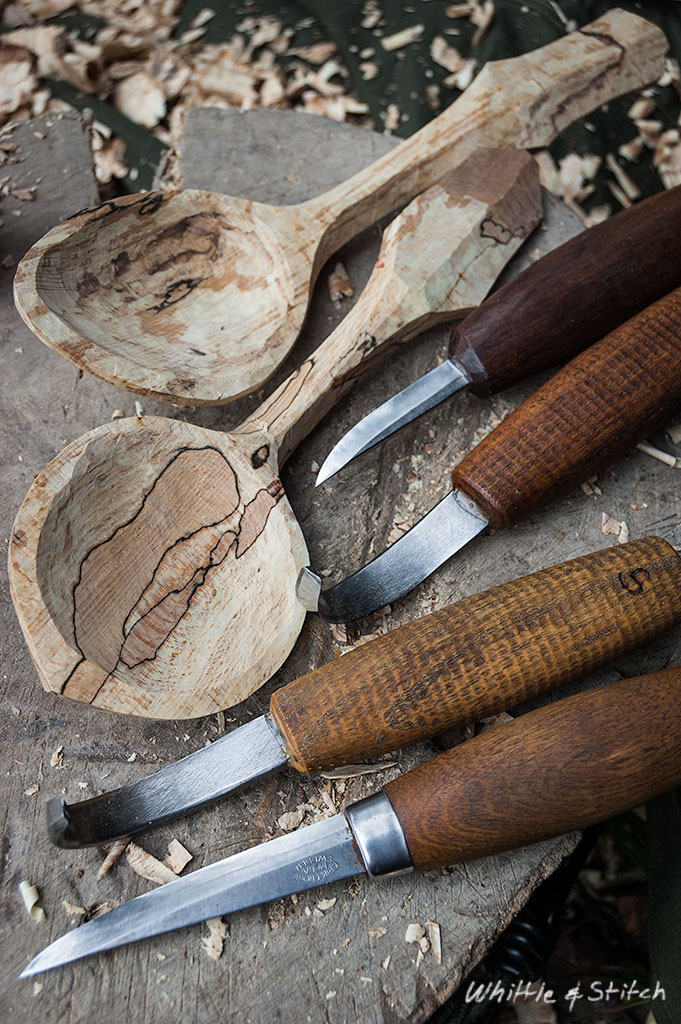
More spoon carving with spalted Beech over the weekend.
I’ll let these season for a bit before the final finishing.
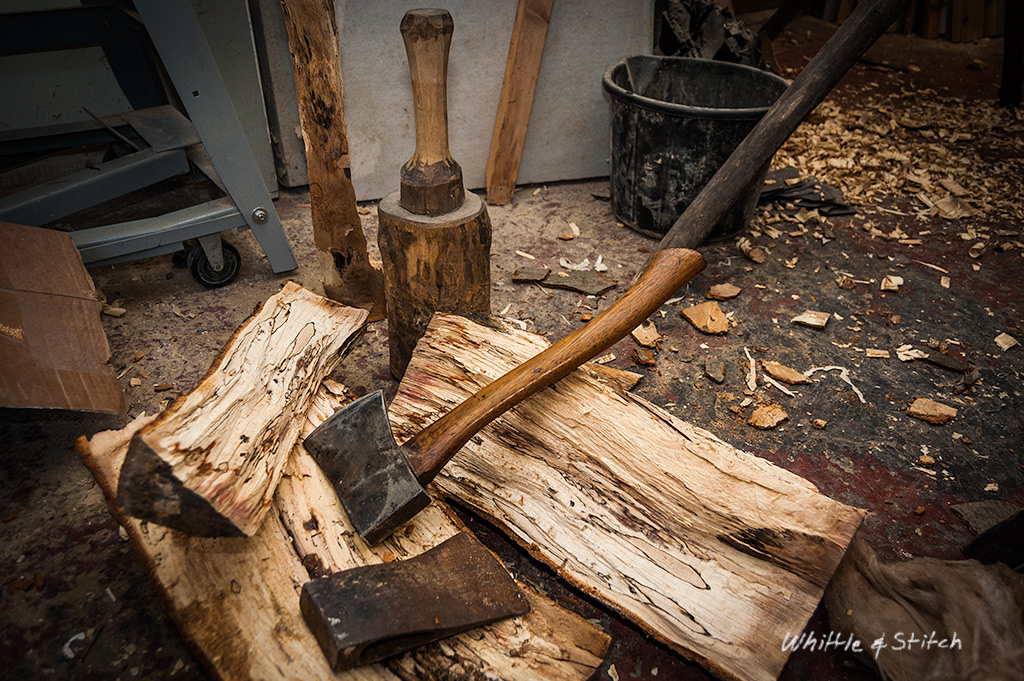
Nothing like a dead standing Oak tree to test the fit and strength of a newly made Ash axe handle…

…both handles were hung and secured only with Oak wedges. Happily they both passed the test without fault.
The heads are an old 4lb Gilpin (or is it a Brades, I can’t remember now) and an unstamped Maine pattern double bit.
All the best.
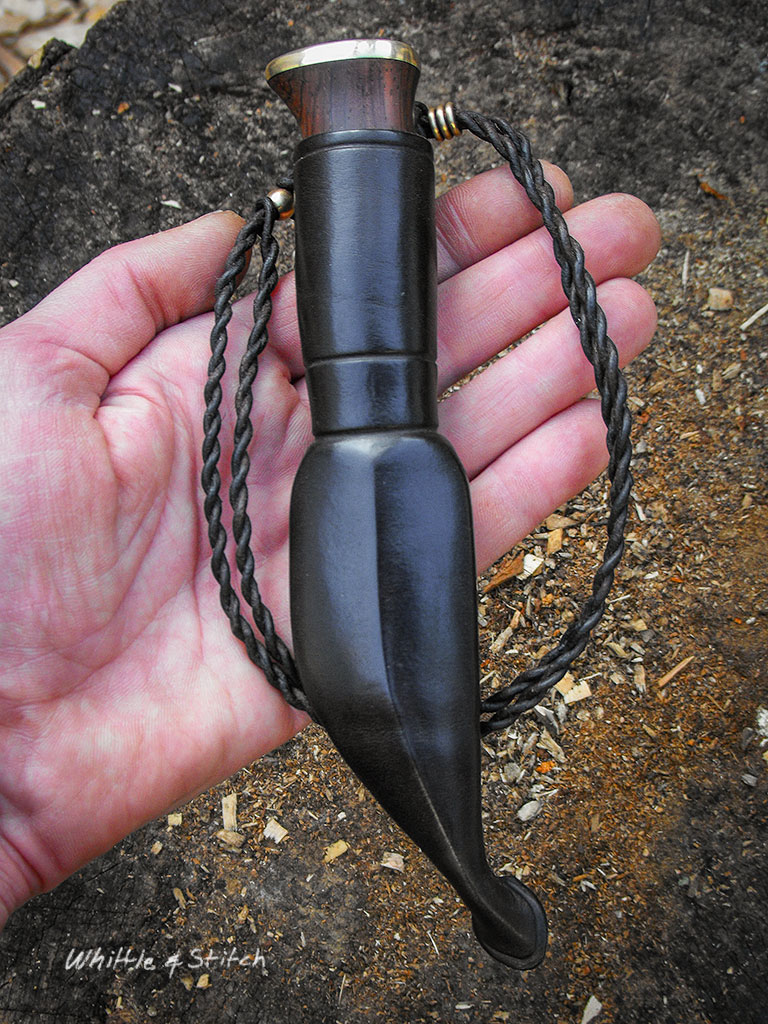
Here is a little Puukko (Finnish style knife) with a lanyard for wearing around the neck that I made a while ago. The handle is rosewood with a Lauri 63 blade and brass fittings, the end cap is hiding a recessed brass washer and peened tang.

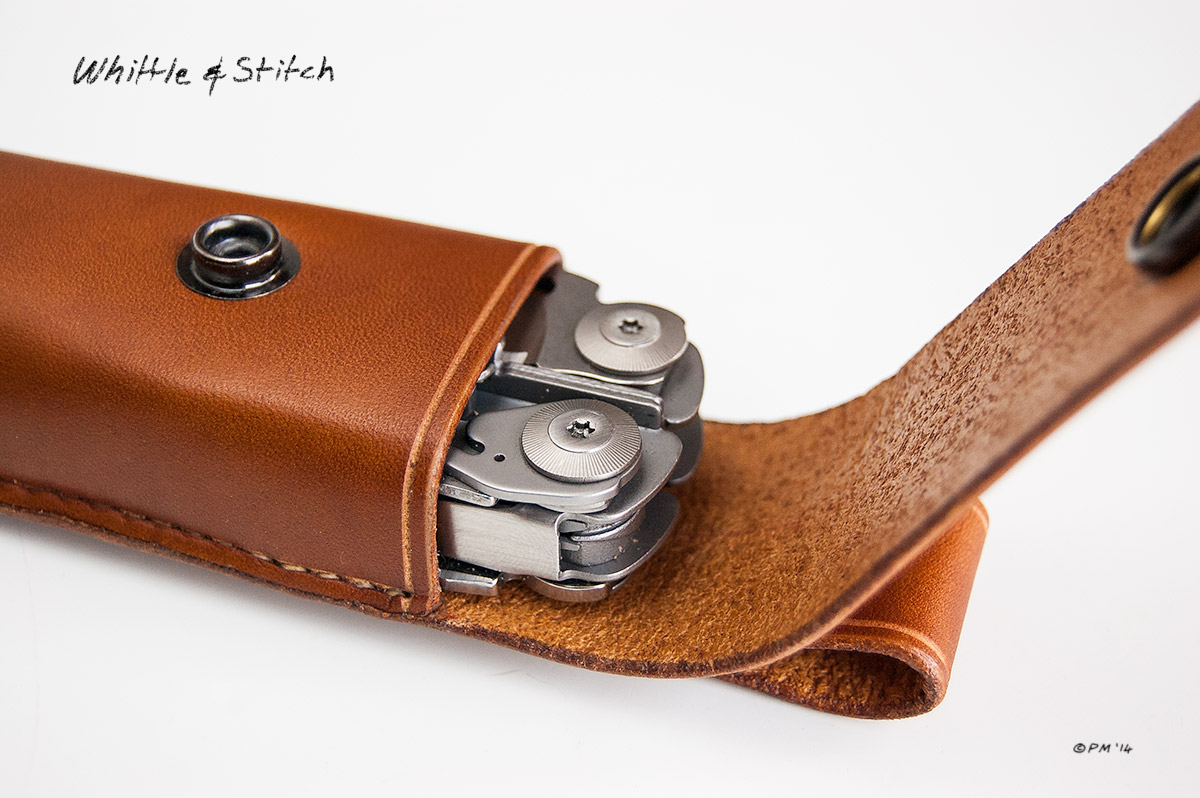
This was really a practice piece for learning how to Butt Stitch the leather on the sheath. This is particularly tricky on a contoured form like this because as the name suggests the two edges of the leather to be sewn need to butt up against each other. Consequently the leather needs to be measured and cut very accurately to achieve the required fit
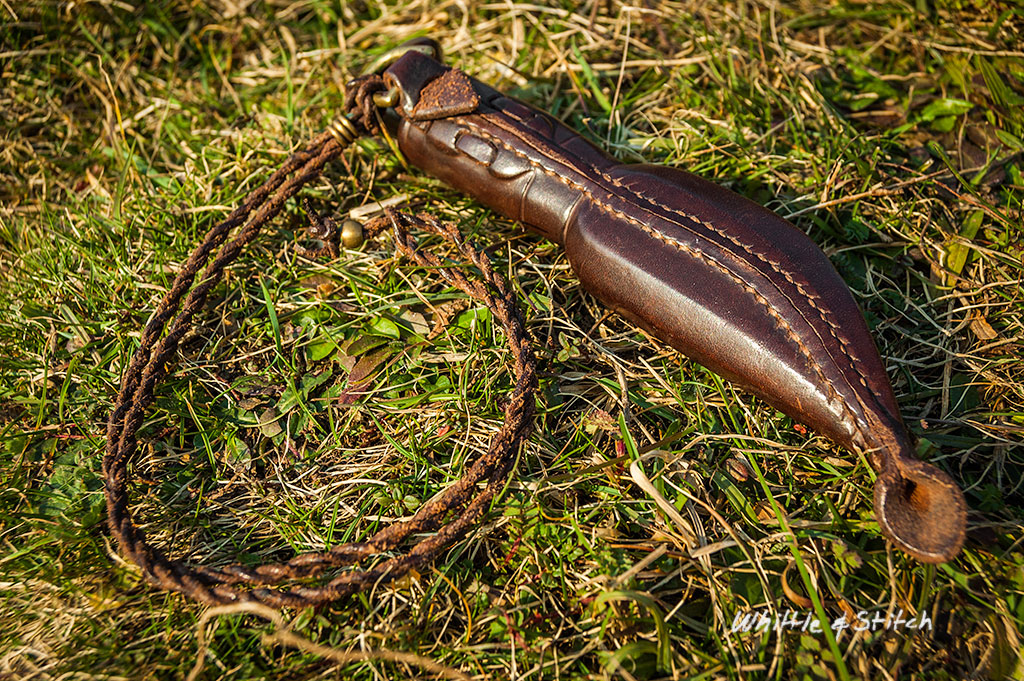
The Awl is used to make stitch holes that go diagonally from the surface of the leather to just above the bottom edge of the under side. This creates a seam that is no thicker than the leather and serves to shield the stitching from abrasion on both sides, in fact the tread is invisible on the inside.
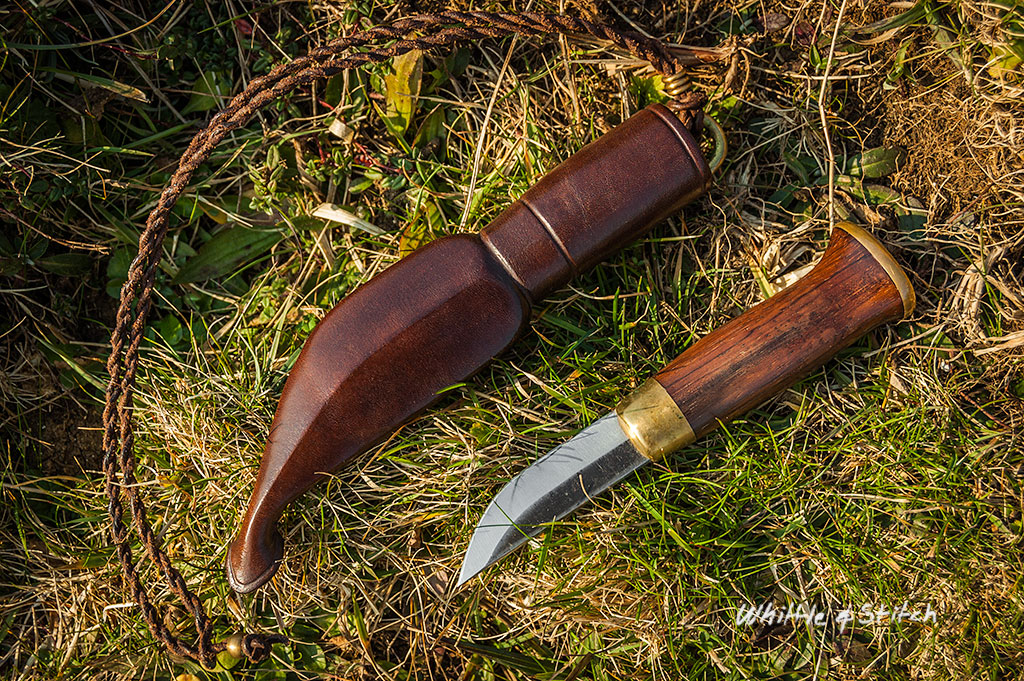
This took four attempts and as you see is far from perfect, something I need to keep persevering with. I have since learnt on other projects that under cutting the edges by half a millimetre or so prevents the slight gap where the edges meet as seen here.
To give you and idea of scale here is a shot of it when it was first made and the dye was/finish was still drying.
All the best and thanks for looking.
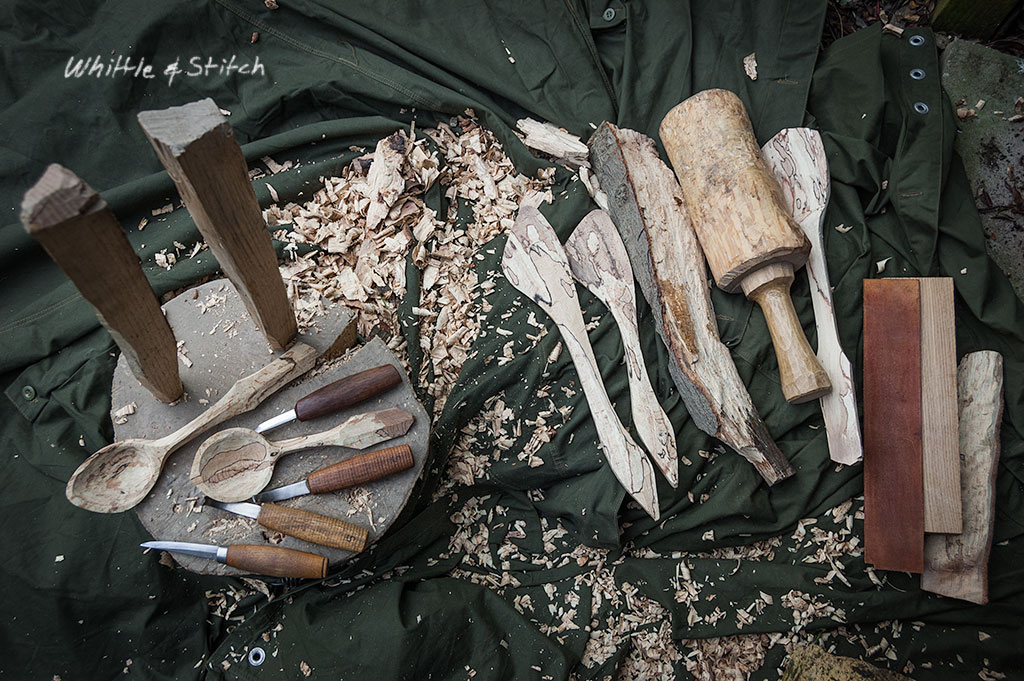
I have a few large beech logs that have been awaiting my attention since last spring. I was slack and didn’t seal the ends so I was unsure how workable the wood would be after so long, fortunately the workshop isn’t exactly a dry environment.
Happily they haven’t cracked too much and best of all they have spalted beautifully without going too soft to be viable. I already want to make some bowls from this stuff.
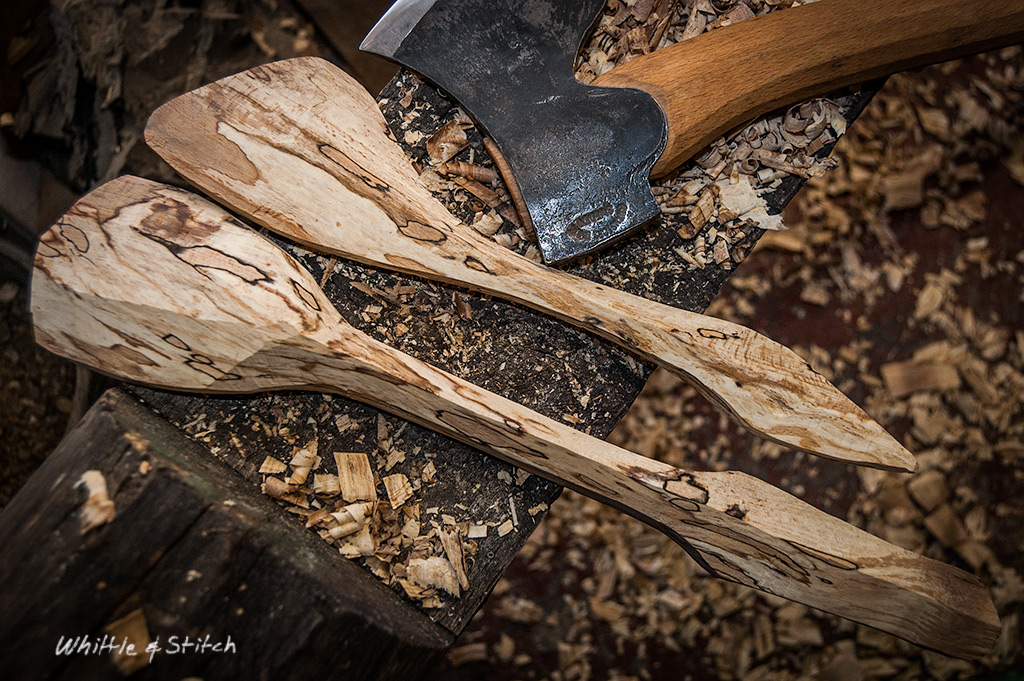
After splitting down some suitable sized billets I spent some time roughing out a large spoon & two Gooseneck Spatulas™ (ha ha). As well as being an enjoyable way to get back up to speed with the axe it is a good way of assessing the workability of the wood, if the spalt had gone too far the impact of the axe would soon make it apparent.
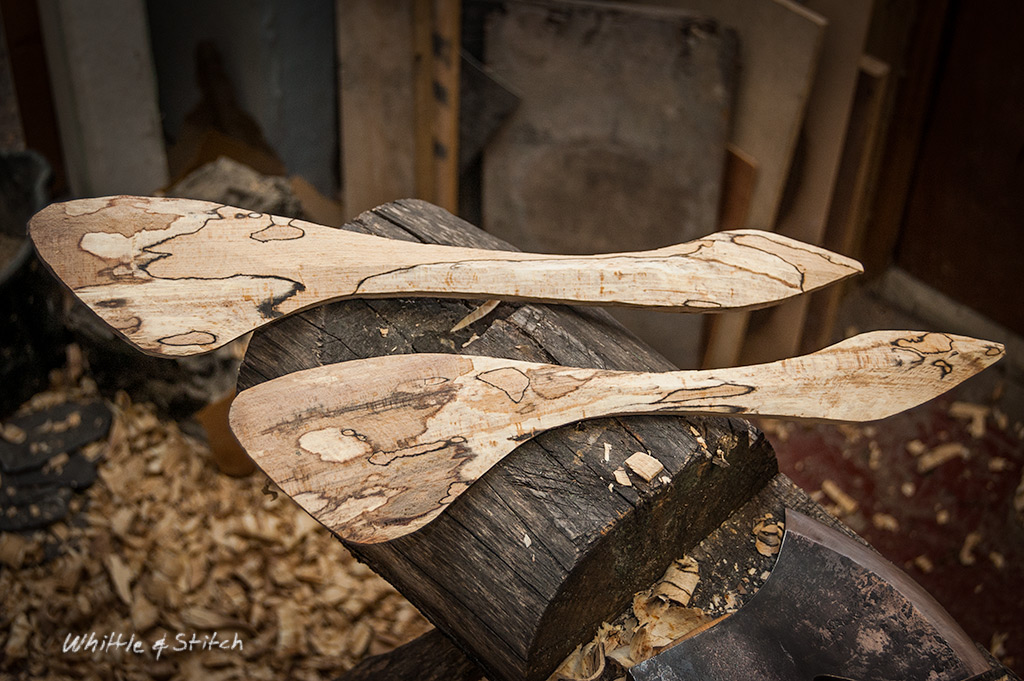
Now the basic shape and lines have been established they will be further refined and finished with hook and straight bladed knives.


I’ll report back when they have been done.
All the best.
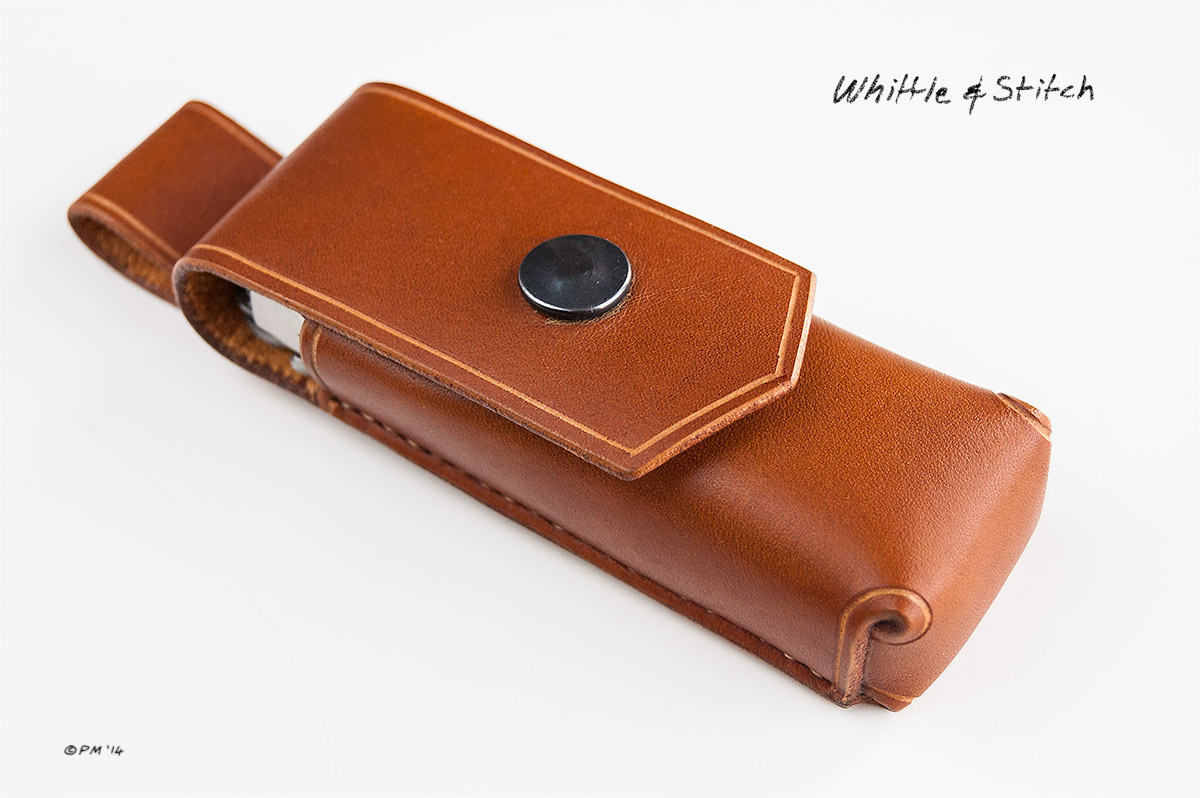
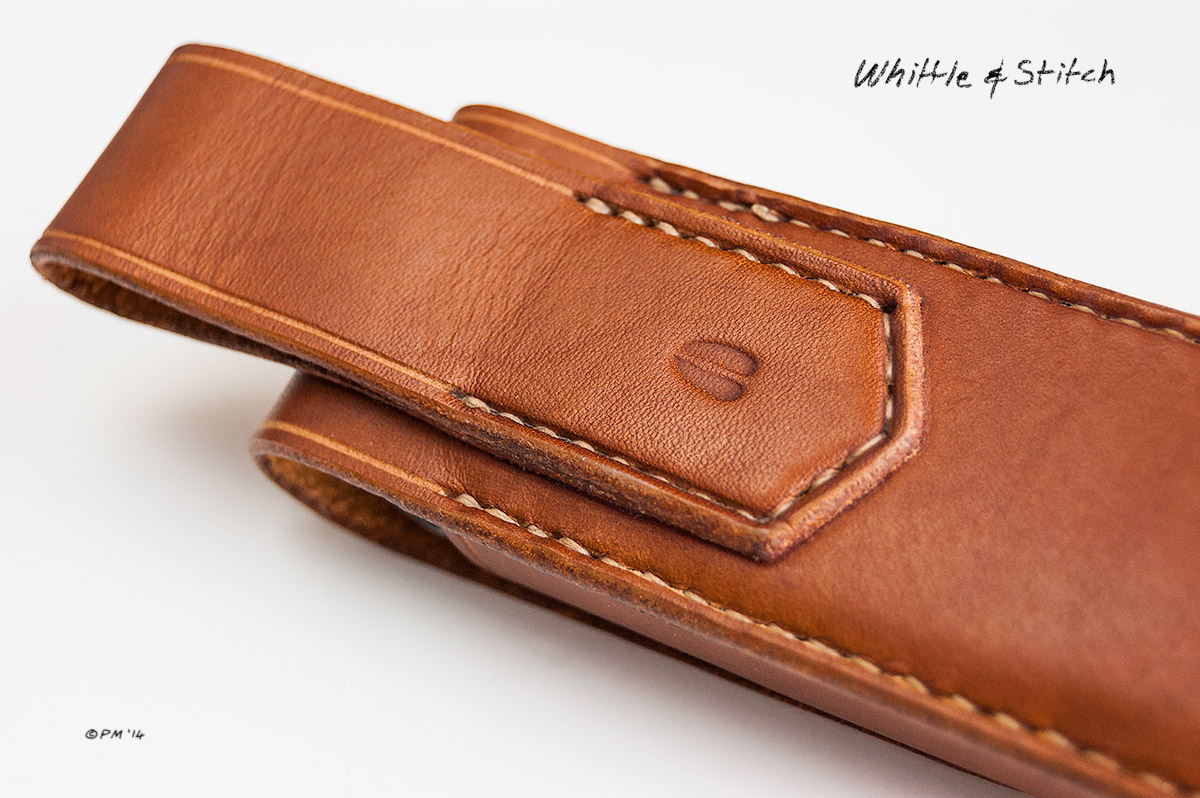
Leatherman Surge Holster in Saddle Tan Veg-Tan leather.
Made for a client as a Christmas present to their father.

Best wishes & thanks for looking.
Peter.
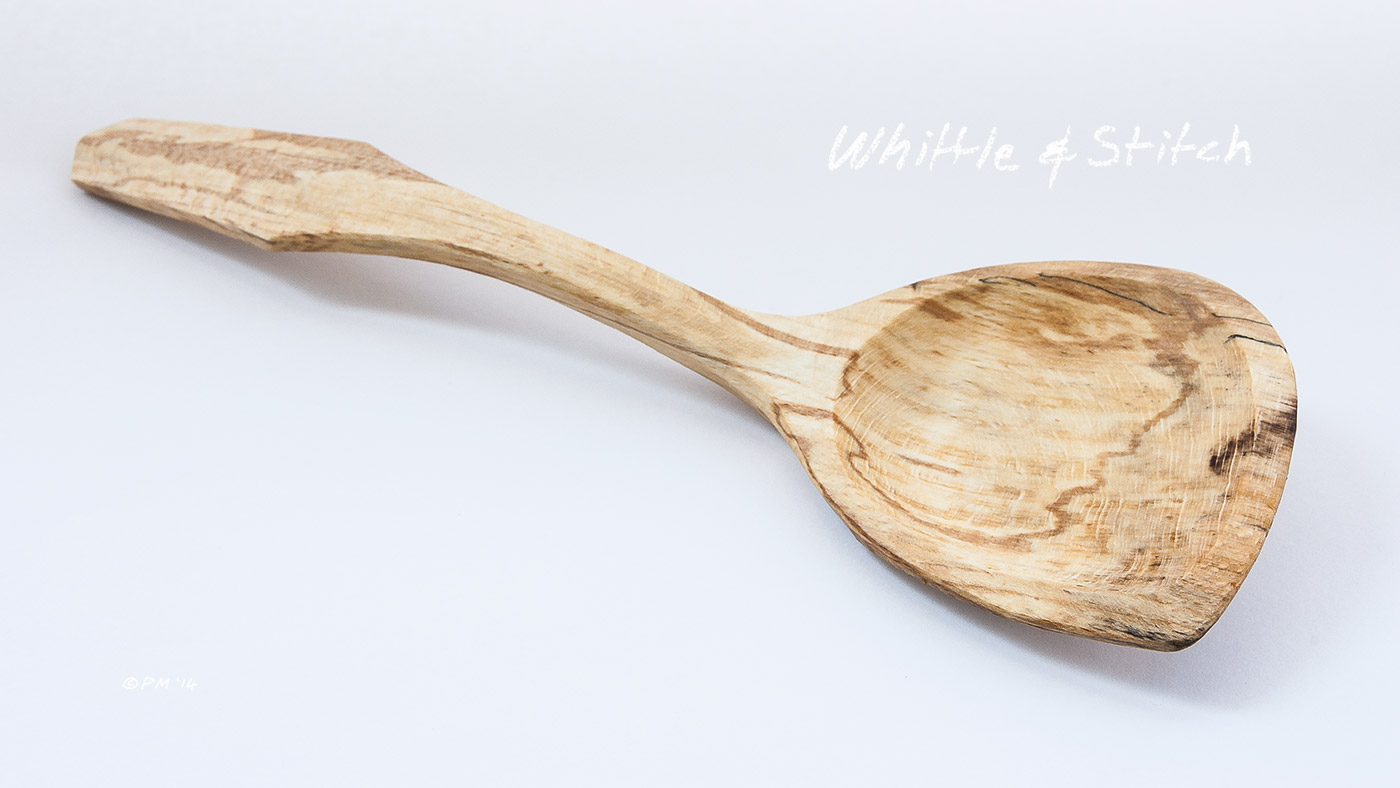
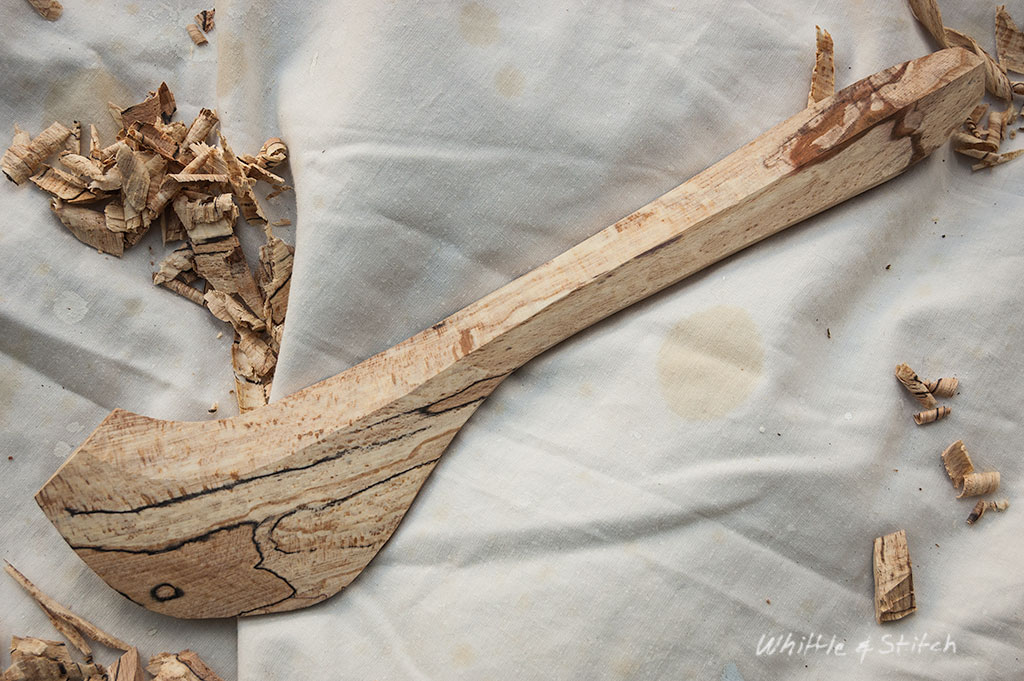
This spatula has just been wiped over with Flax Seed Oil to seal it after being carved. As usual great care was taken to ensure the surface was made smooth with a knife to avoid the use of sand paper.


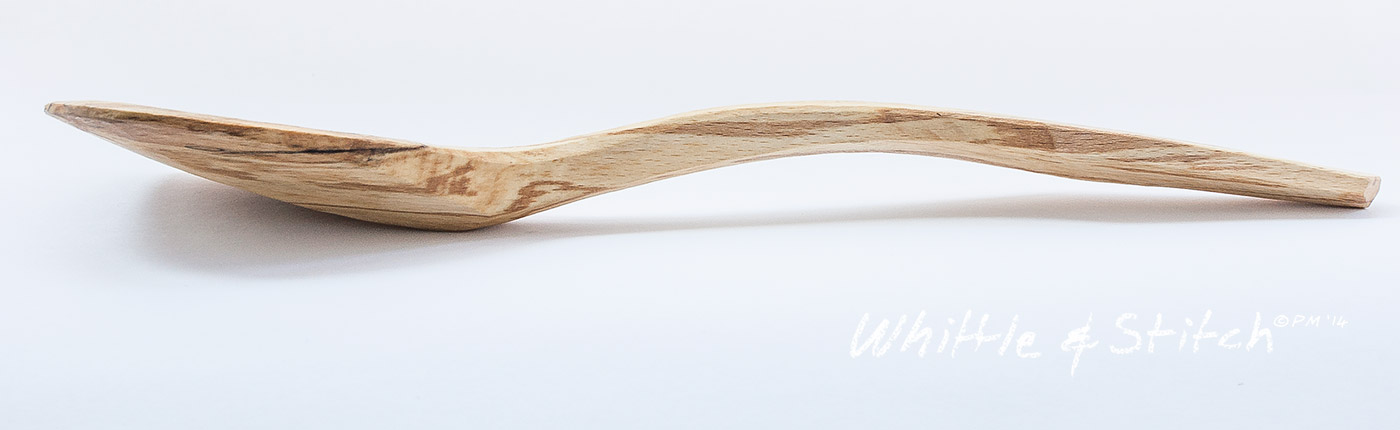

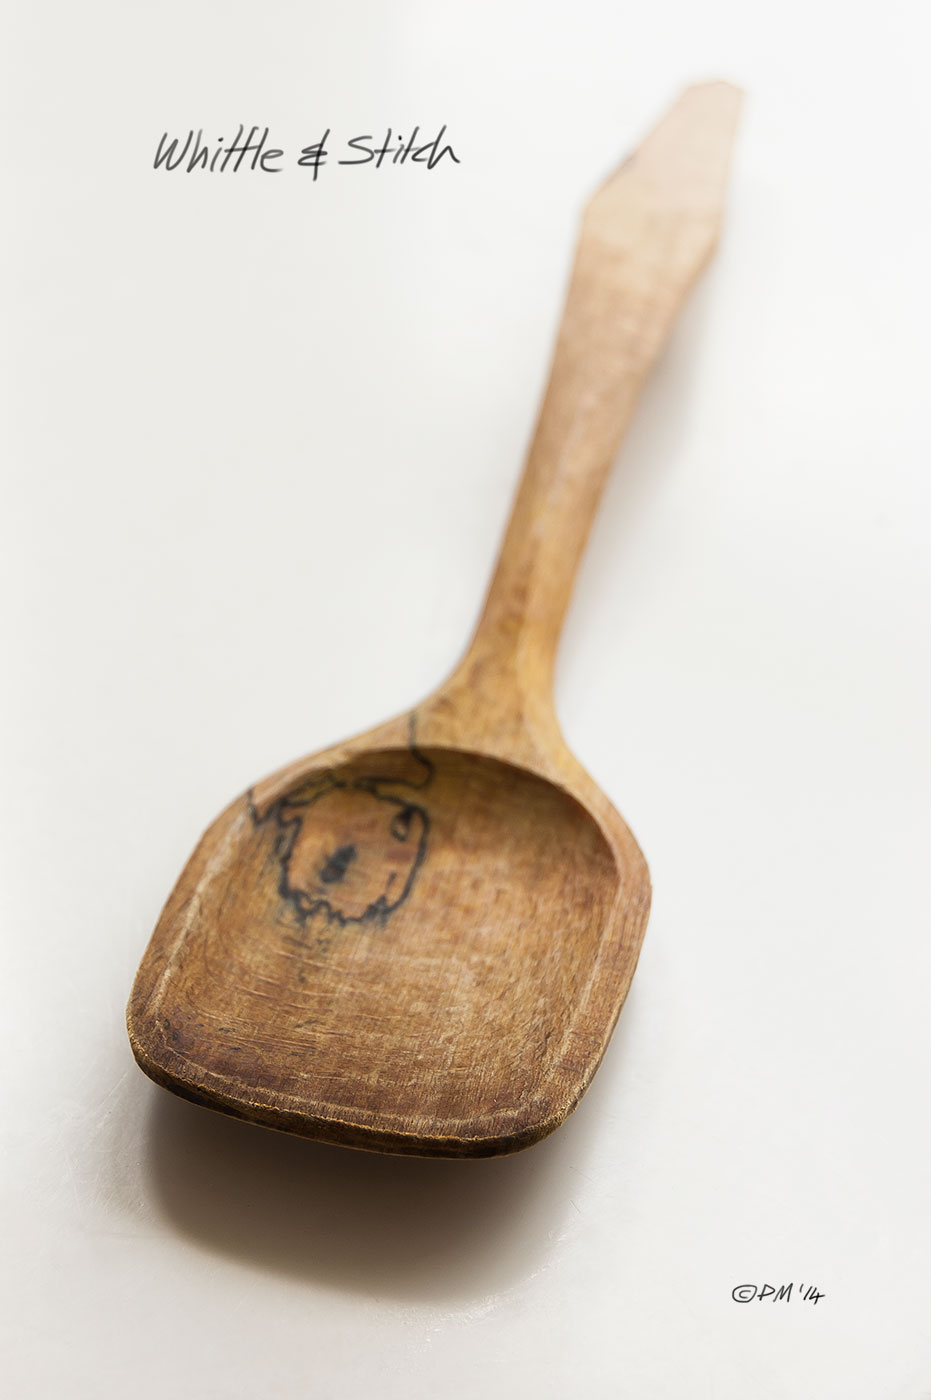
I thought you might like to see how this spoon began taking shape and what it looks like after a few years of use.
This one began, as many do, being hewn with an axe from a billet of wood split from a Beech Log. The wood had spent over a year weathering in the yard at my workshop and had developed a Spalt running through the grain; lovely patterns caused by fungus penetrating the wood and forming hard dark barriers at their margins. If left too long in such damp conditions the wood becomes crumbly and brittle in places but fortunately I used this piece before that had happened.

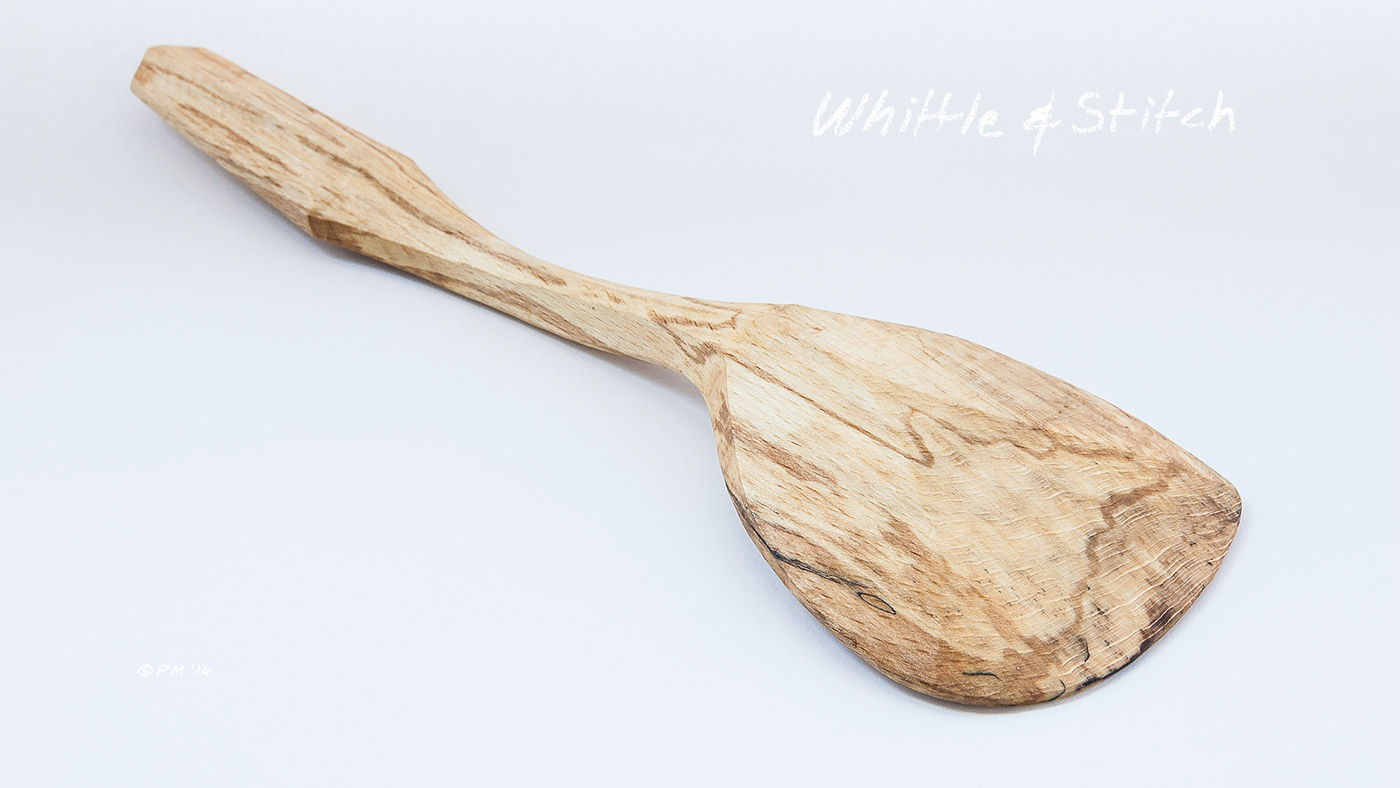
Once the rough shape is formed with the axe I use whittling knives & curved spoon knives to refine it further before setting the piece aside for a while to allow any remaining moisture escape.

Once the wood is dry the knives are used to carve the final smooth surface and the piece is sealed with Flax seed oil to protect it.
Here are some images of this one after it has been used for a few years and begun to gain some real character.